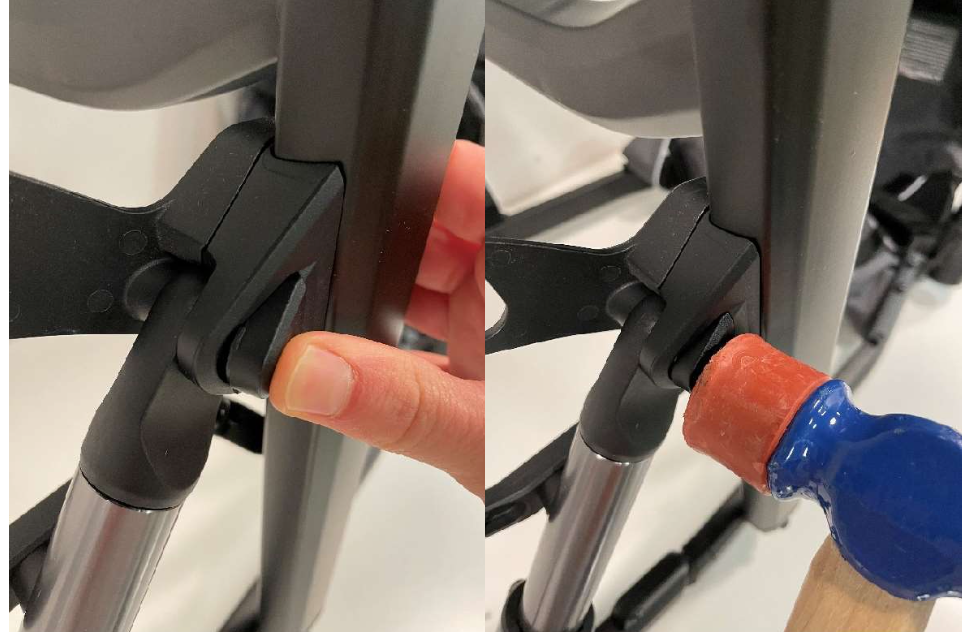
&Jog / &Roll Adjustable Shock ReplacementUpdated 8 days ago
REPAIR GUIDE
UPDATED JUNE 2024
Required Tools
- (2x) 4mm hex wrench
- 3mm hex wrench
- Phillips head screwdriver
- Flat head screwdriver
- Mallet
Kit Contents
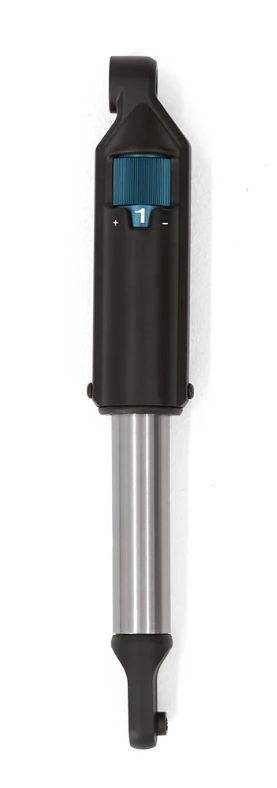
A. Replacement Adjustable Shock (Left or Right)
NOTE: To determine whether right or left side is needed look at your &Jog/&Roll from the front.
B. Replacement screws (not pictured)
Procedure
NOTE: Removing the rear wheels may help stabilize the frame and allow easier access to screws on shock mounts.
/01: Partially slide back the basket fabric by unfastening the velcro and button, this will reveal the basket mount screw, remove the screw using the Phillips head screwdriver. Slide the mount off the bushing on the shock.
IMPORTANT: Set aside the bolts that are removed from the shock. They will be used again during re-assembly. The spacer between the frame and basket mount may fall off, this too will be re-installed later.

/02: Remove the lower shock mount cap using a flathead screwdriver.
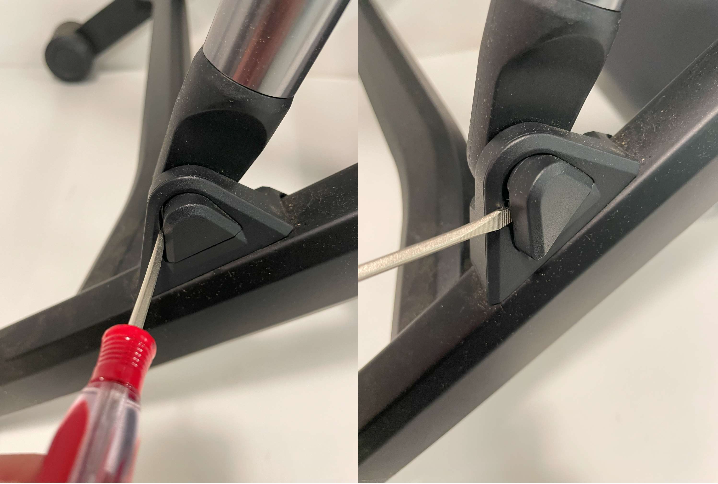
/03: Using the two (4mm) hex wrenches, remove the binding bolts that secure the shock to the lower shock mount on the frame legs.
IMPORTANT: Set the binding bolts aside and note that one is shorter than the other. They will be used again during re-assembly.
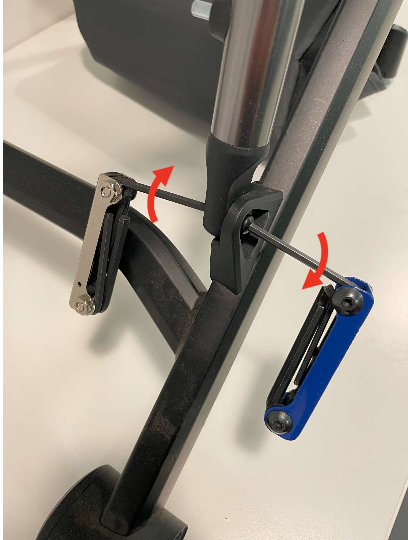
/04: Using a 3mm hex wrench on the outside and a 4mm hex wrench on the inside, remove the top shock mount bolt.
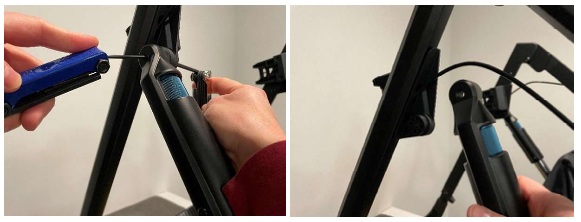
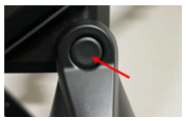
NOTE: If your shock has a cap like the image below, pry the cap off with the flat head screwdriver to reveal the bolt. This will damage the cap. Please contact Veer for complimentary caps. Remove the bolt using two 4mm hex wrenches.
/05: Remove the shock by pulling it away from the mounting bosses on the frame.
Note: The shock mounts in opposite bosses on the top vs bottom
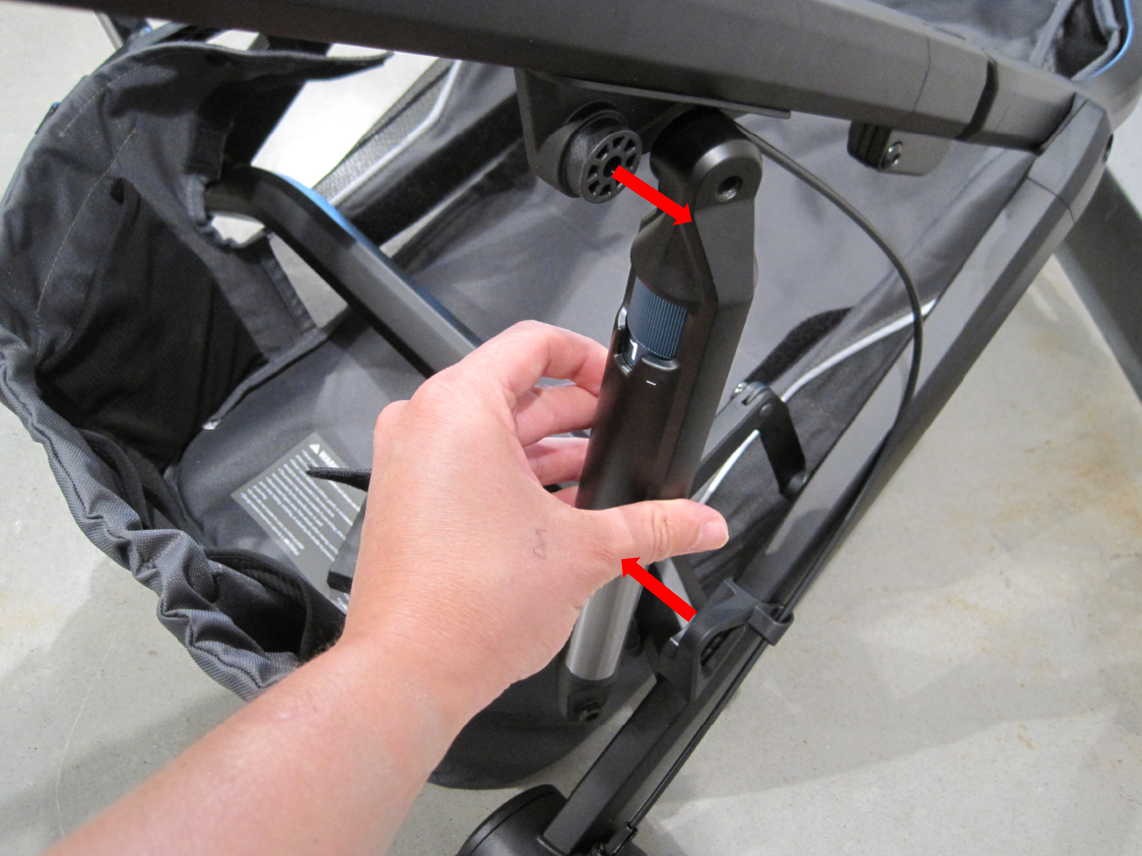
/06: Install the new shock by following a reverse order.
