Cruiser Handle ReplacementUpdated 19 days ago
REPAIR GUIDE
UPDATED FEBRUARY 2022
Tools Required
- 13mm Combination Wrench
- #4 Phillips Screwdriver
- 13mm Socket Wrench with Extender
- 6mm Hex Wrench
- Dry Silicone Lubricant

Replacement Parts Required
- Handle Assembly
- Locking Pin
PROCEDURE
/01: Remove the screw located between the handle and the seat back shown below with the screwdriver.
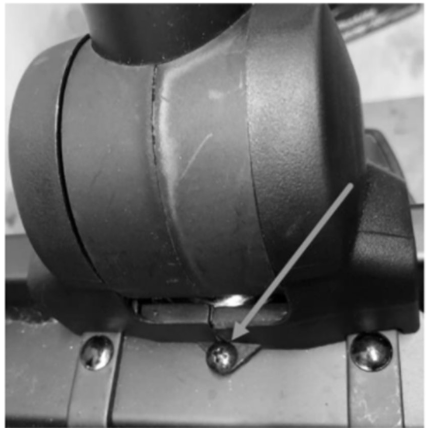
/02: Remove two front screws from the Cruiser.
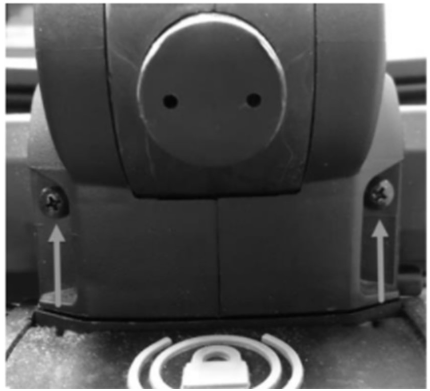
/03: Remove the screw on the right side of the Cruiser handle shown below with the screwdriver.
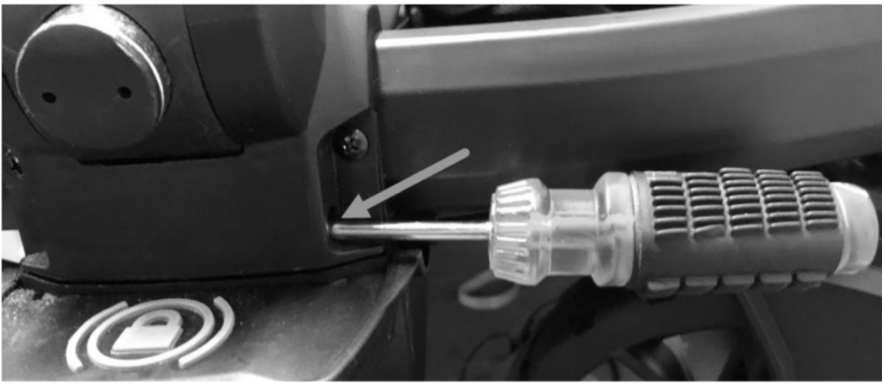
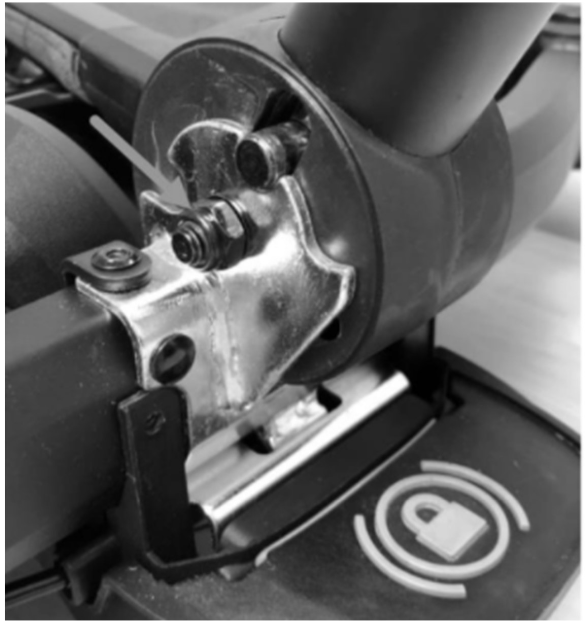
/04: Remove handle pivot covers to expose the handle pivot nut and bolt.
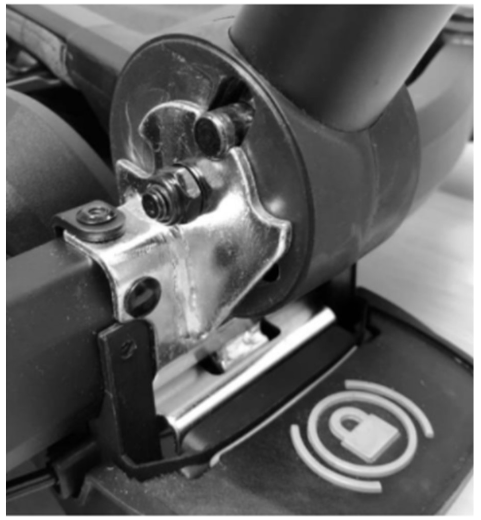
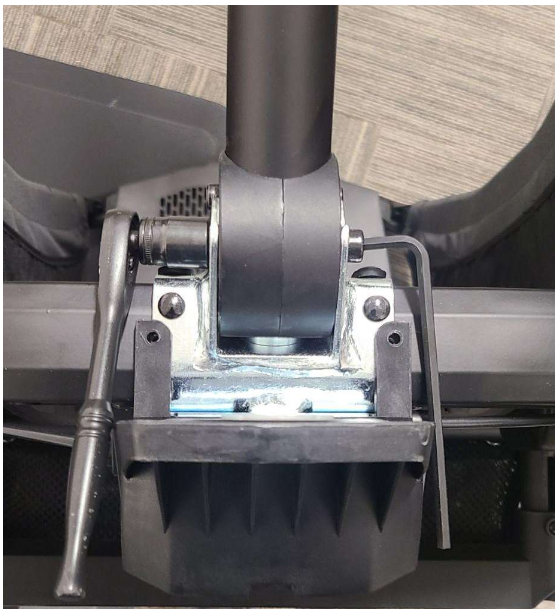
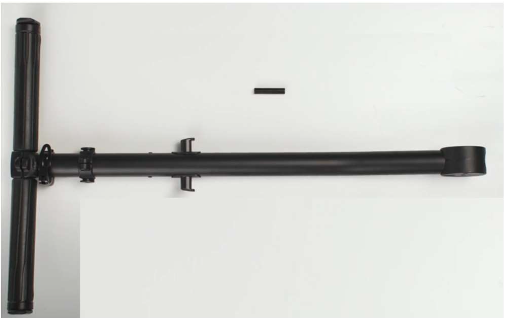
/06: Remove the lock pin. Verify you have all of the parts shown below.
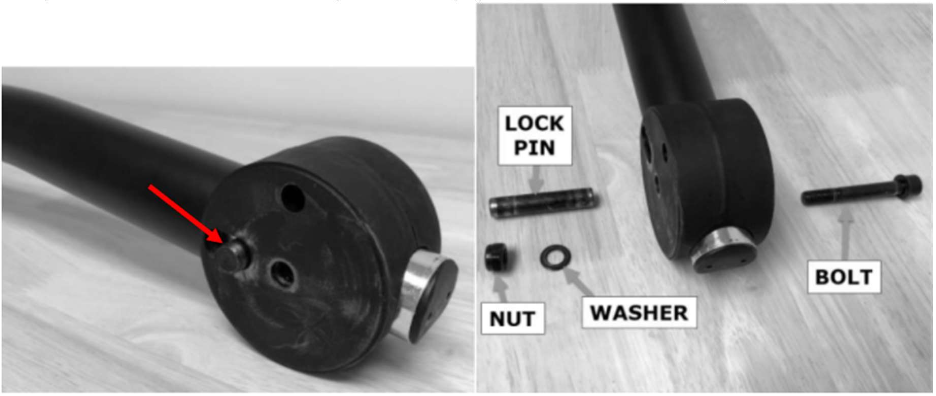
Ensure the lock pin goes through the pull cable port. It is helpful to use a screwdriver to align the pull cable to the lock pin as you insert the lock pin. Verify the handle actuators pull on the lock pin.
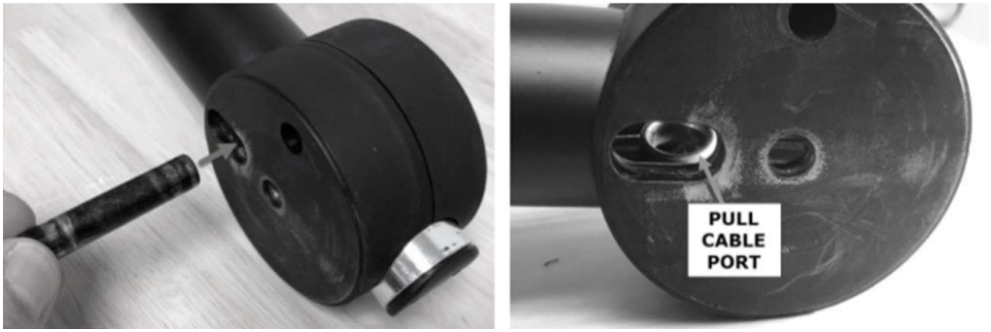
/08: Place the new handle onto the cruiser and insert the pivot bolt.
To install the pivot bolt it is helpful to use a screwdriver to compress the spring in the lower lock pin as you slide the bolt through the hole.
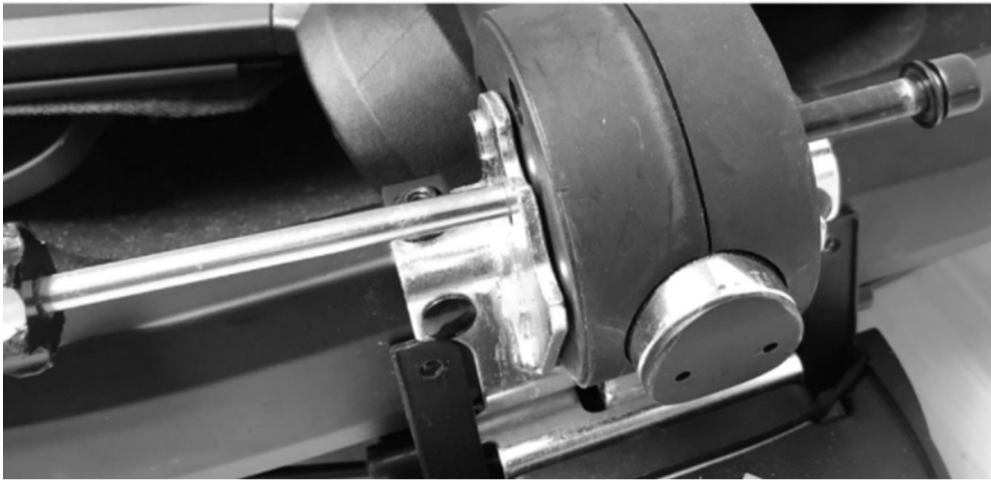
/09: Tighten the pivot nut to remove excessive side-to-side handle play.
Verify the handle locking pin is able to slide freely to ensure proper handle function. Reference “Handle Locking Pin Function” video for more information.
