Cruiser Brake Pedal ReplacementUpdated 19 days ago
REPAIR GUIDE
UPDATED JUNE 2024
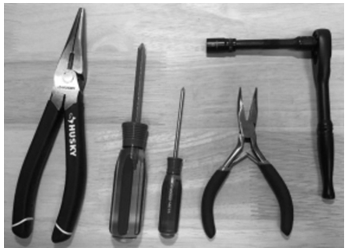
Required Tools
- Needle nose pliers - medium and small if available
- #1 Phillips head screwdriver
- #2 Phillips head screwdriver
- M8 Socket wrench with extender
Replacement Parts Required
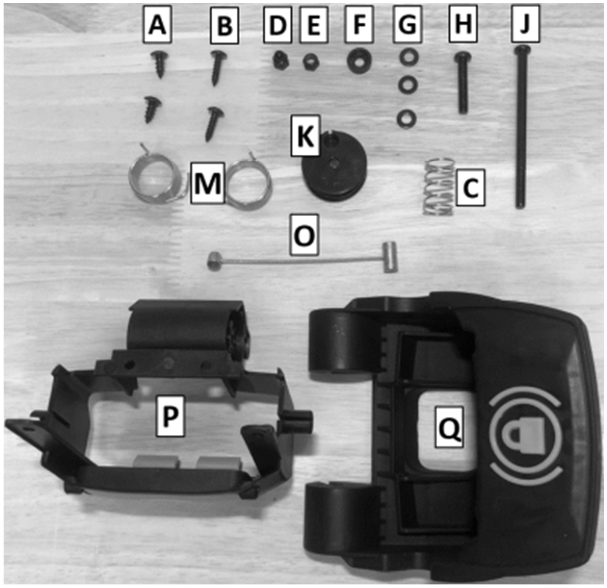
- A - 2x Pan head screw, #8
- B - 2x Pan head screw, #6
- C - Brake release button spring
- D - 1x M5 acorn nut
- E - 1x M5 lock nut
- F - 1x Plastic cup washer
- G - 3x M5 washer
- H - 1x M5 x 28
- J - 1x M5 x 82
- K - 1x Cable pulley
- M - 2x Torsion Spring
- O - Brake cable
- P - Brake release housing
- Q - Brake pedal
Procedure
/01: Remove brake pedal pivot bolt using a M8 socket wrench and #2 Phillips screwdriver.
/02: Release brake cable from brake pedal.
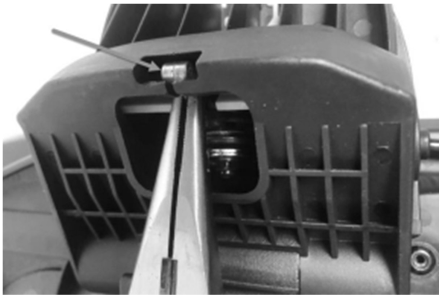
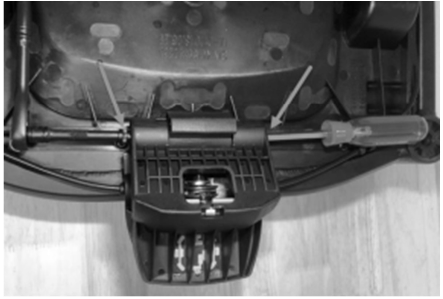
/03: Remove brake pedal then #8 screws highlighted below.
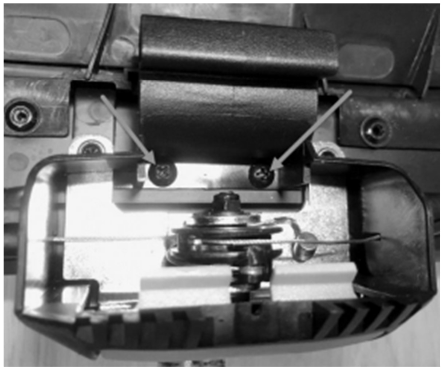
/04: Remove #6 screws highlighted below.
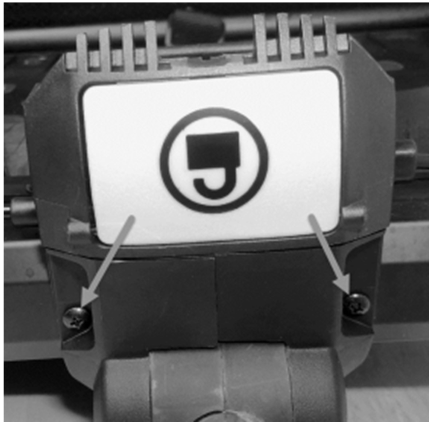
/05: Lift the brake housing off your Cruiser.
You will need to pull on the brake cables to release them from the brake housing. BE CAREFUL to restrain the brake release spring to prevent it from flying free.
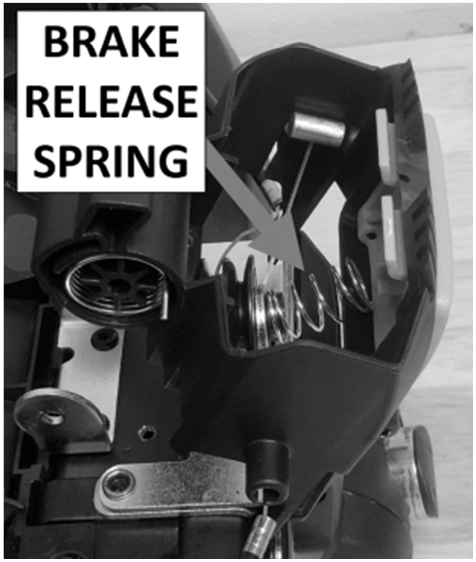
/06: Loosen and remove the bolt, plastic cup washer, nut, and washer using the M8 socket and #2 Phillips screwdriver.
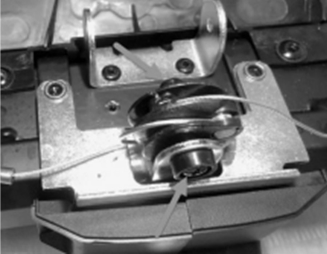
/07: Remove the brake pulley and disconnect brake cables from the pulley.
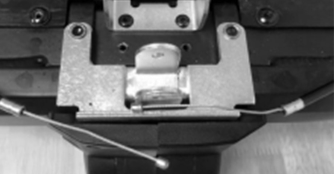
/08: Orient the Cruiser as shown in the picture below.
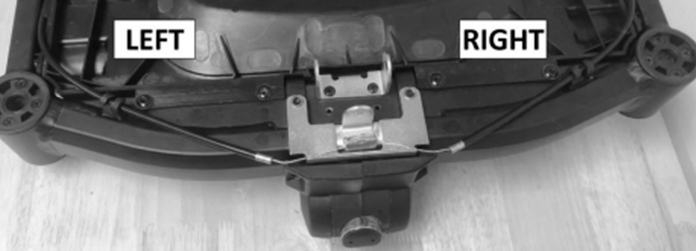
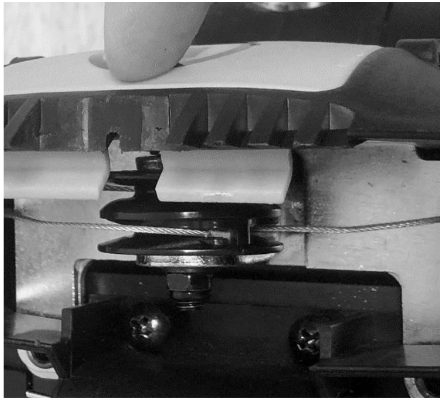
/09: Orient the cable pulley (K) as shown in the picture below and connect the right and left brake cables as shown. Then insert the brake cable (O) into the cable pulley (K).
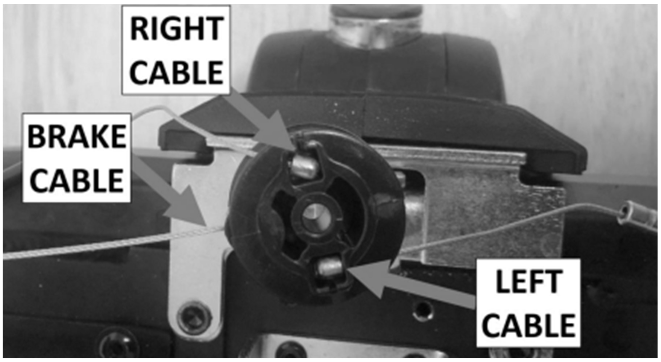
/10: Orient and slide the cable pulley (O) into its mounting bracket as shown in the picture below.
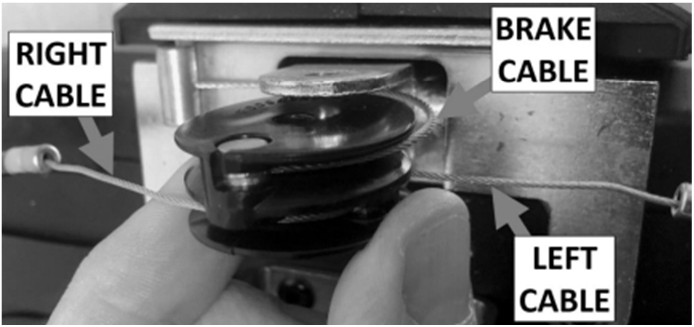
/11: Install the plastic cup washer (F) onto the M5 x 28 bolt (H) and insert through the pulley bracket and cable pulley (K). Install a M5 washer (G) and M5 lock nut (E) onto the M5 x 28 Bolt (H).
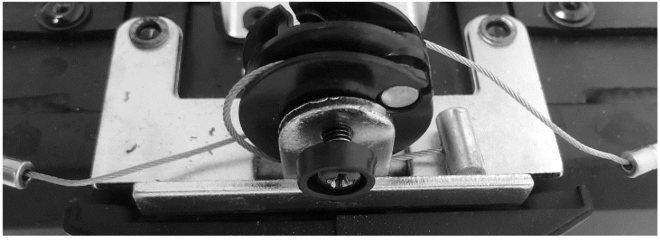
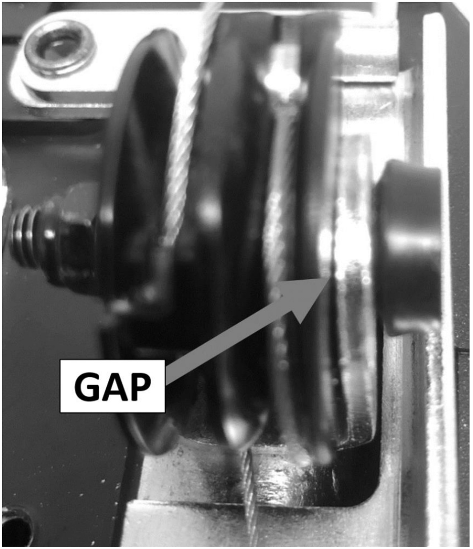
/12: Tighten the M5 lock nut (E).
The cable pulley (K) must be able to rotate freely, but the gap between the cable pulley and its mounting bracket must not be greater than the thickness of 3 sheets of paper.
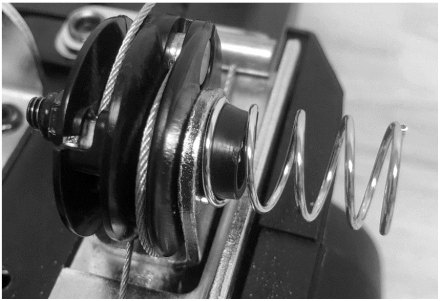
/13: Slide the brake release button spring (C) onto the plastic cup washer (F).
/14: Insert torsion springs (M) into the brake housing (P) as shown.
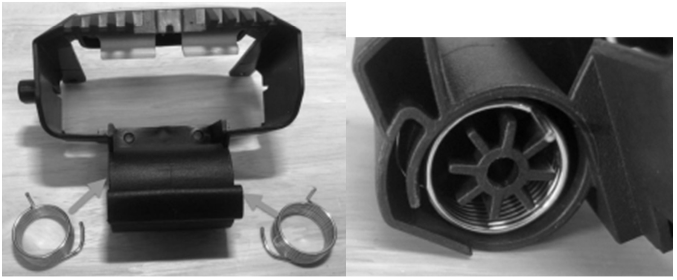
/15: Slide the brake release housing (P) onto your Cruiser.
Make sure the brake release button spring is positioned on its positioning cross on the inside surface of the brake release button as shown in the picture below.
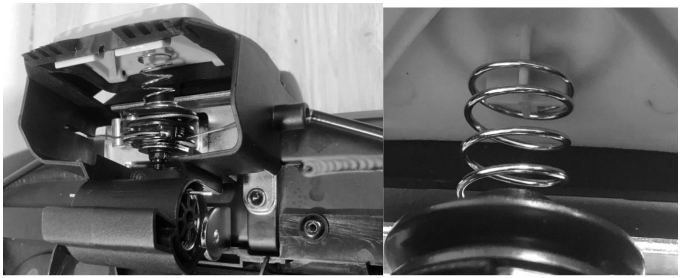
/16: The brake release housing should be positioned on your Cruiser as shown.
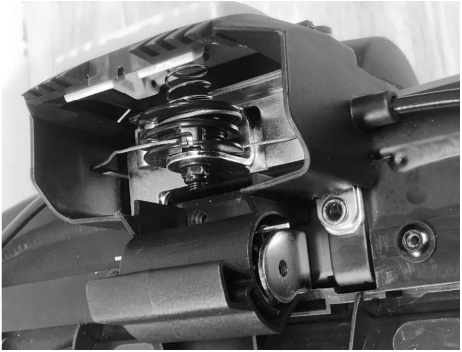
/17: Install the 2x #8 screws (A) and tighten.
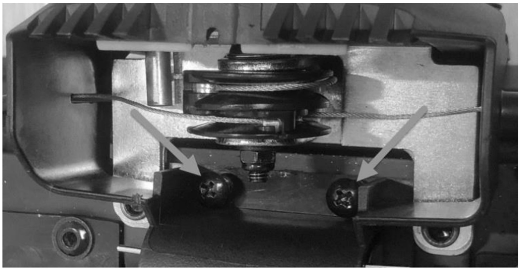
/18: Install the 2x #6 screws (B) and tighten.
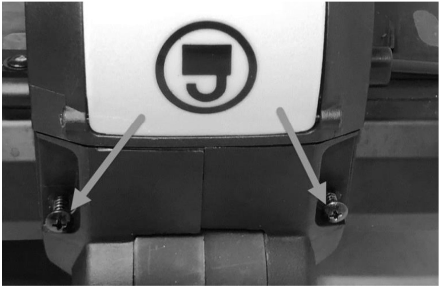
/19: Verify the brake release button moves freely.
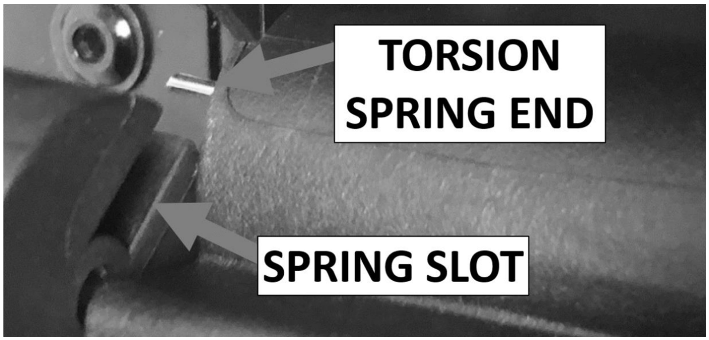
/20: Position the brake pedal (Q) so the ends of the torsion springs (M) slide into the spring slots on the brake pedal (Q). Verify both torsion spring ends are positioned within these slots.
/22: Place a M5 washer (G) onto the M5 x 82 bolt (J) and slide the bolt through the brake pedal. Install a second M5 washer (G) on the end of the M5 x 82 bolt (J) and then install the M5 acorn nut (D). Tighten the M5 acorn nut (D) and verify the brake pedal (Q) rotates freely.
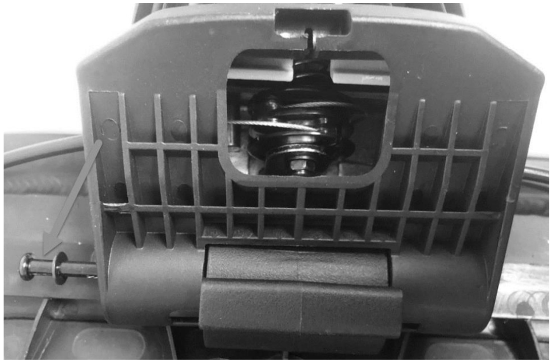
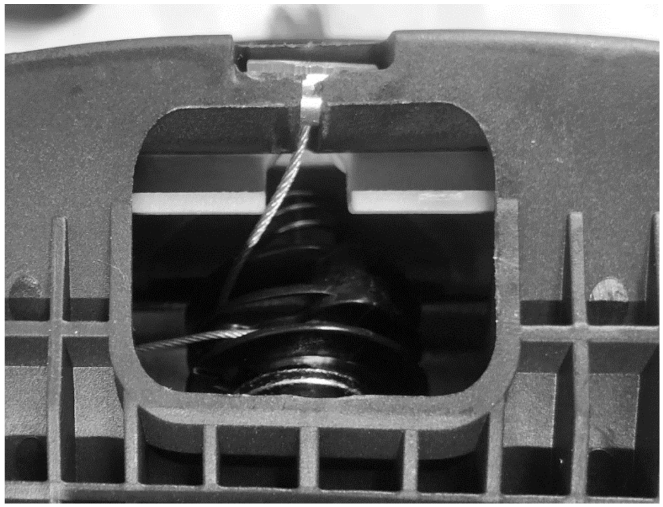
/23: Grab the brake cable (O) with a needle nose pliers and fish it through the opening and place the brake cable (O) and place it in its receptacle.
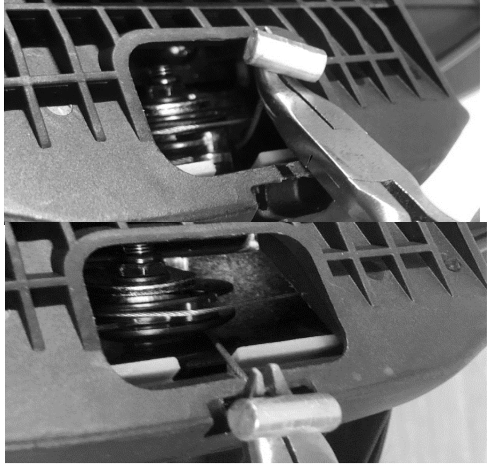
/24: Verify proper assembly and brake pedal operation.
- Brake cable (O) is positioned correctly as shown in the picture below.
- Brake pins extend and retract completely. If the pins do not retract completely the cable pulley bolt is too tight and not rotating freely. You will have to disassemble the brake pedal system and loosen this bolt.
